
Step 1: Call template dashboard
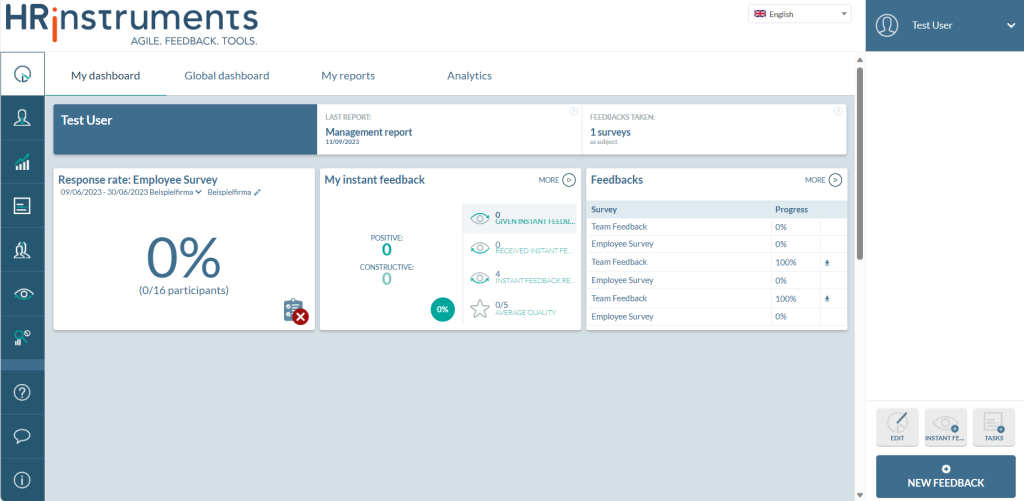
To create a new template, you can navigate to the template overview either in the “Dashboard” tab or in the “Feedbacks” tab via the “New feedback” button. On both pages, the button is located at the bottom right of the screen.
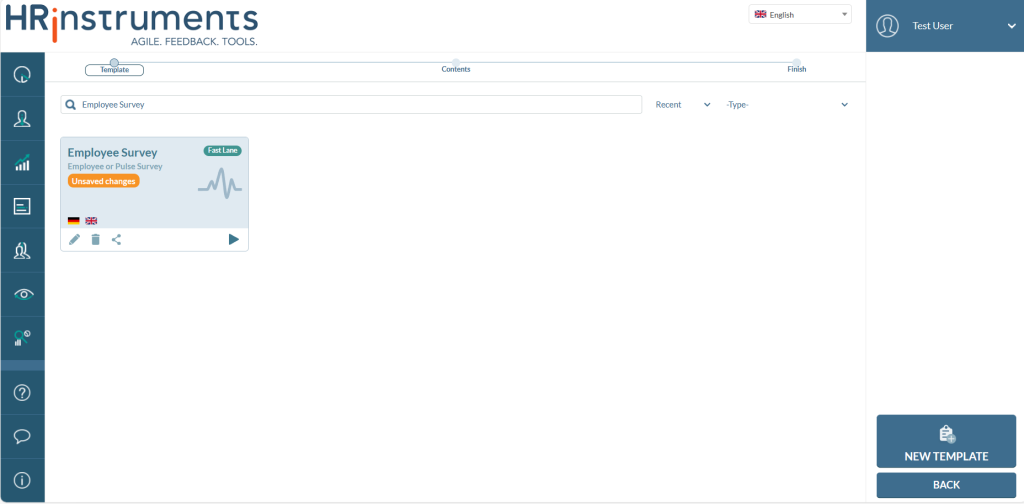
An overview of all questionnaire templates to which the respective user has access opens.
Step 2: Create new template / Edit existing template
Now either a new template can be created or an already created template can be edited.
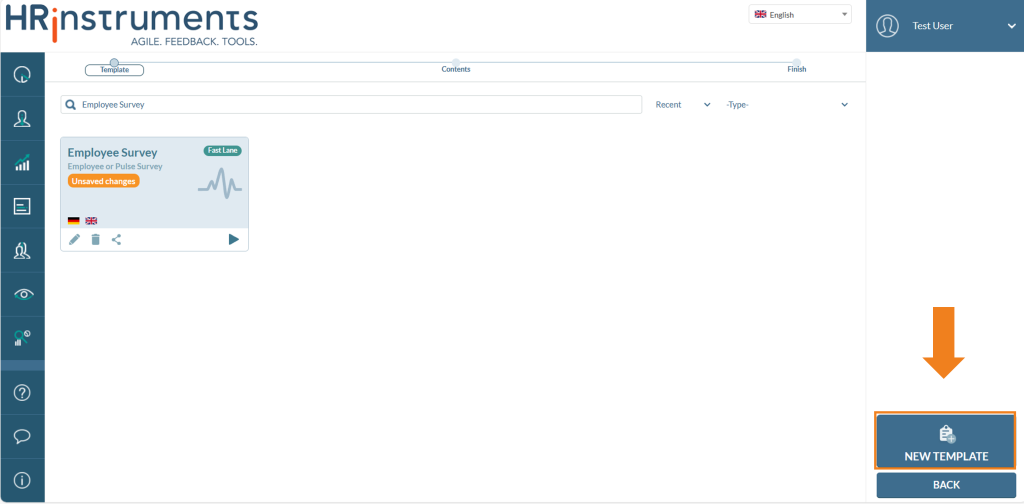
Clicking on “New template” or on the “pencil” icon of the tile of an existing template takes you to the template editor.
Create new template
A new template can be selected via the “New template” button. It is located in the template overview at the bottom right of the screen.
Edit existing template
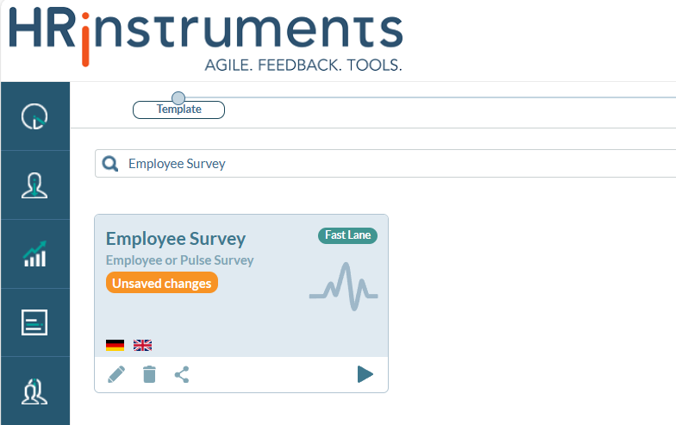
Existing templates are displayed as rectangular tiles in the template dashboard. The corresponding tile contains the name of the survey and the respective survey type.
In the search line at the top of the screen, you can filter by template name; alternatively, the filter function to the right of the search line can be used to filter the overview page by survey type or to sort by various criteria.
Small flags in the tile signal the languages in which the template has been created or into which languages the template has already been translated.
Below that, four additional icons are shown.
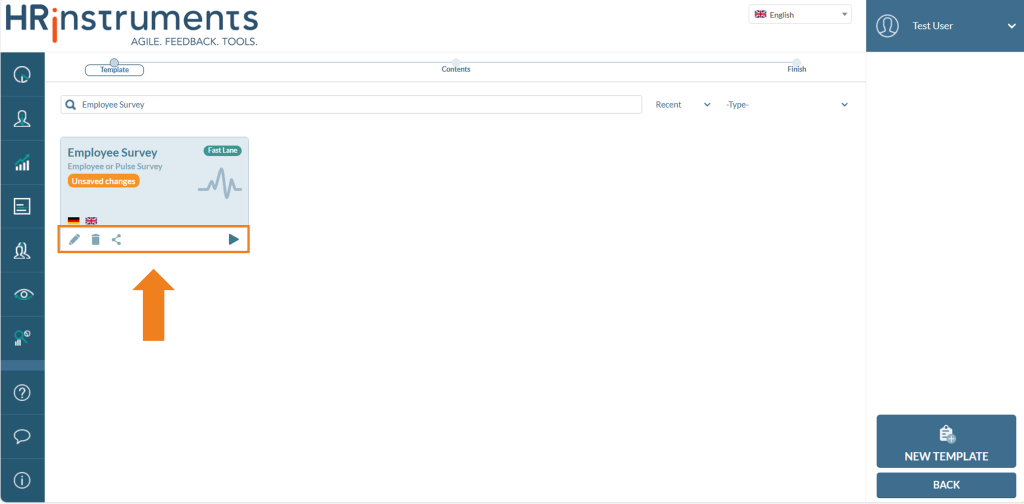
The template can be edited using the “pencil” icon.
The “trash can” icon can be used to delete the template.
The “share” icon allows to give other users access to the template. More information about this here.
The “play” icon can be used to start the survey.
If changes are made to a template and these are not saved in the last step with the “Save Template” button, these changes will still be cached by the system. The template tile is then provided with the warning “Unsaved changes”.
In order to finally save the changes in the template, the “Save template” button must be pressed in the editor via the last tab.