How to get to the template editor can be found here. Basic settings and navigation in the template editor are explained here.
When creating a new template or clicking the “Edit” button on the tile of an existing template, you will get to the first tab of the template editor.
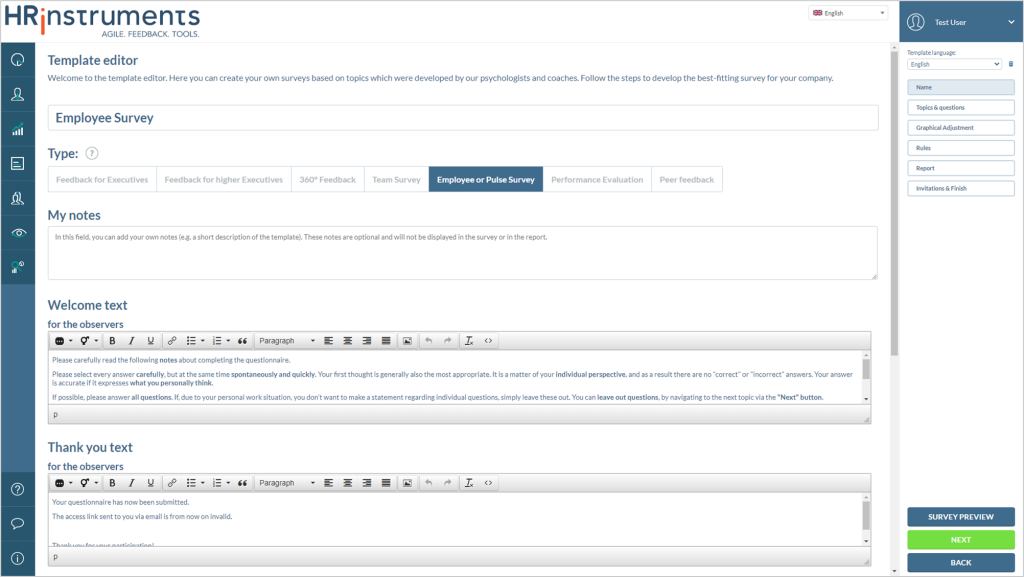
The first options of the questionnaire can now be adjusted here.
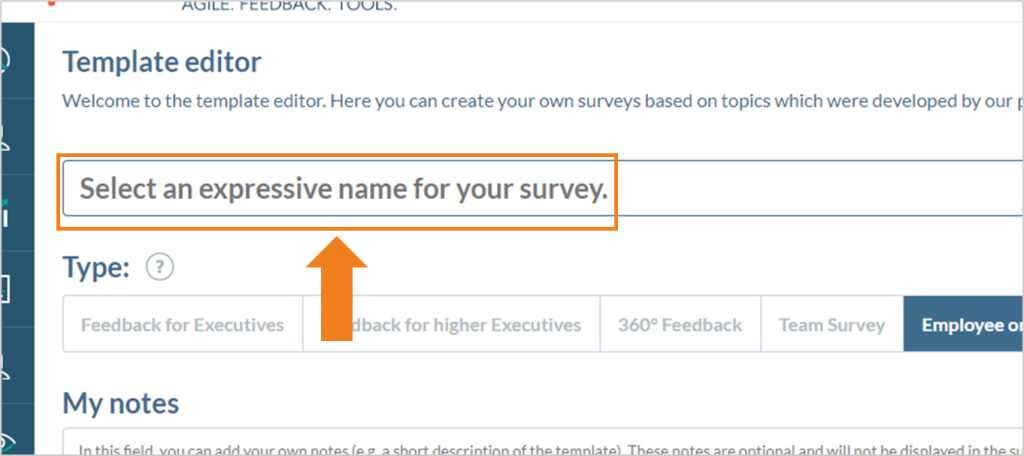
Name
In the top line, a name for the questionnaire can be defined. After the template has been saved, the questionnaire will be used in the software under this name. The selected name will also be displayed in the reports.
Type
Under “Type” the desired type of survey can be selected in the bar.

If a type is selected, the field is highlighted in blue.
Information on the individual survey types can be viewed on the website as well as obtained from the HRinstruments contact persons.
Notes
In the notes field, you can store descriptions, annotations, thought supports, and the like, so that you can view them, for example, during later edits. This is useful, for example, when you are working on a template in a team.
The notes are not displayed in the finished questionnaire or in reports.

Welcome and Thank you text
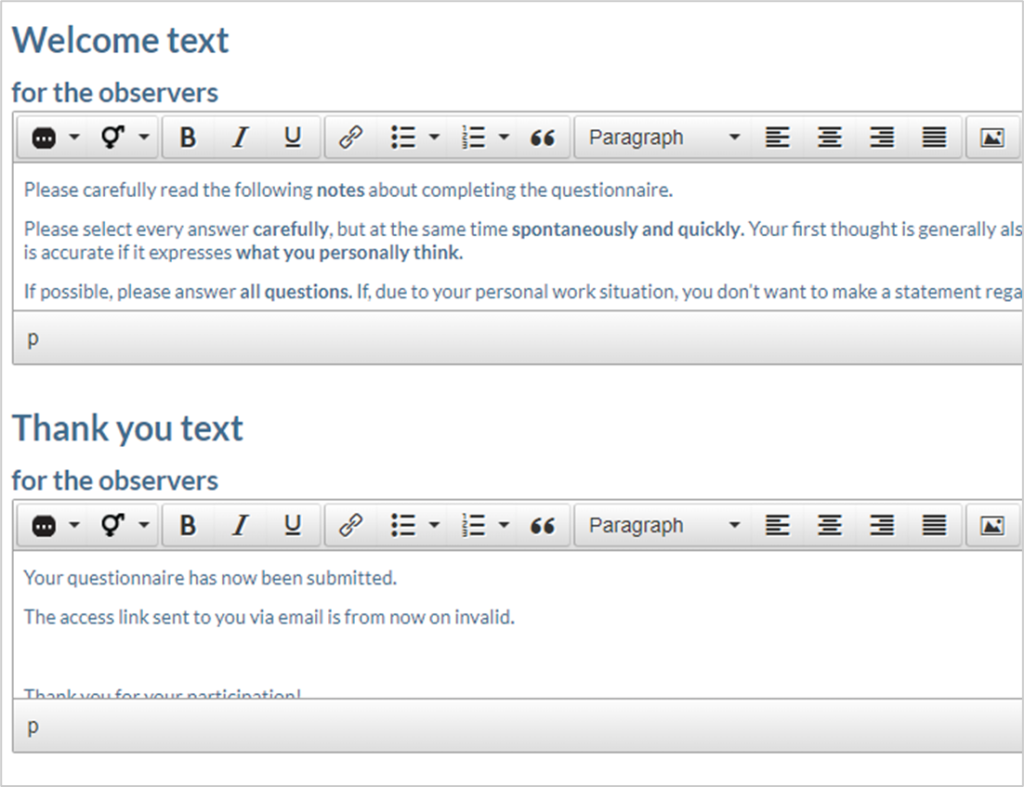
The welcome text can be used to write and customize the texts that are displayed on the first page of the questionnaire. This can include greetings, explanations of the content or instructions for completing the questionnaire.
In this section, you can also create and change the thank you text, which is displayed on the last page and contains, for example, farewells and notes on the further course of the questionnaire.
Tools in the toolbar
Within the text fields, various tools from the toolbar above the text field can be used.
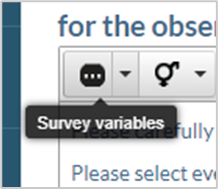
Survey variables
The survey variables are placeholders for information from the organizational data or from the software, which change depending on the survey and the user.
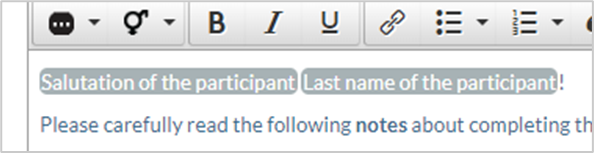
If, for example, the placeholders “Salutation of the participant” and “Last name of the participant” are selected here and the survey is sent to a user, this information is read from the company data provided and the salutation and last name stored there are displayed.
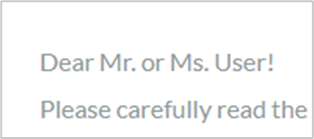
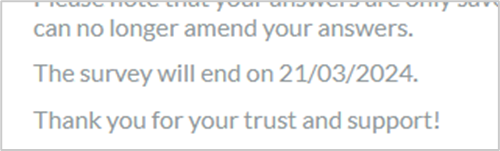
The information for the placeholder “Stop date of the feedback” is, for example, retrieved from the end date set in the template.

Text differentiation according to the gender
The text differentiation by gender makes it possible to differentiate between marked words depending on the gender of the participant or feedback recipient stored in the organizational data.
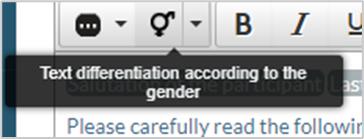
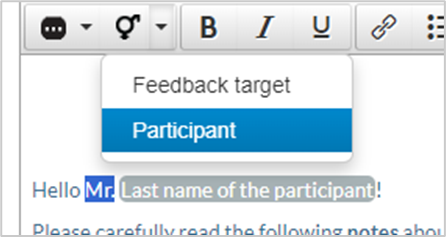
If, for example, the form of address “Mr.” is used, it is also possible to address the female form “Mrs.”. To do this, the word “Mr.” is highlighted and the option “Participant” is selected in the “Text differentiation according to the gender” dropdown, as the “Mr.” or “Mrs.” are participants.
A window opens in which the male and female forms of the word “Mr.” are stored.
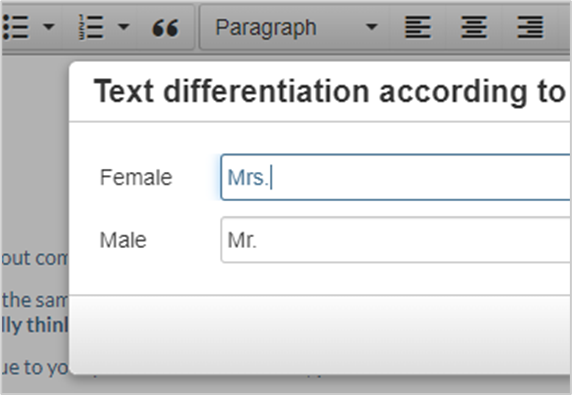
When the questionnaires are sent out, the system retrieves the gender stored in the organizational data for each participant who takes part in the questionnaire. Based on this information, the system then displays either the male or female form of “Mr.” in the welcome text.
The “Feedback recipient” menu option is about the gender of the person receiving the feedback. If, for example, you want to mention the possessive pronouns of the feedback recipient (“his”/”hers”) in the thank you text and address both genders, you can do this in the same way as described above using the corresponding menu option.
Highlighting
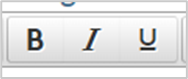
Part of the toolbar are tools for highlighting text. Here it is possible to highlight parts of the text in bold, italics or underline.
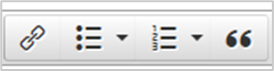
Insert/edit links, bullet points, quotation
Here you can add a hyperlink to a selected word, create a list with key points or numbering or highlight a section of text as a quote.
Heading, text alignment
The font sizes of headings and paragraphs and their alignment can be checked and adjusted here.

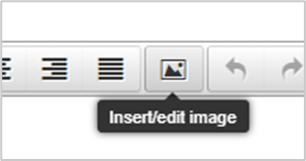
Insert/edit images
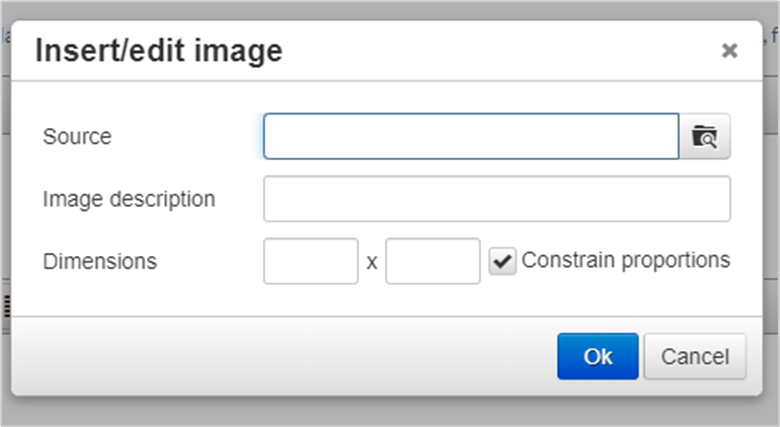
Images can also be inserted into the text field using the corresponding button if required.
A window opens in which you can search for a locally saved file, enter an image description and adjust the size of the image.
Undoing/restoring changes
The two arrows can be used to either undo (left arrow) or redo (right arrow) one or more changes you have just made to the text field.
Clear formatting/Source Code
The last two buttons in the toolbar allow you to delete formatting and directly access the text field in code form. Users can view and edit all settings from the toolbar in code form here.